How To: Set up wq with Azure App Service
The following steps should help you deploy a wq-based container image as a production website via Azure App Service. The official Azure Python + PostgreSQL tutorial may also be useful as a reference.
This guide assumes you already followed the steps to get a dev container running in GitHub Codespaces or Docker Desktop.
- Create App Service and Database
- Update Database Settings
- Create Container Registry
- Connect GitHub Repository
- Configure App
- Next Steps
Create App Service and Database
-
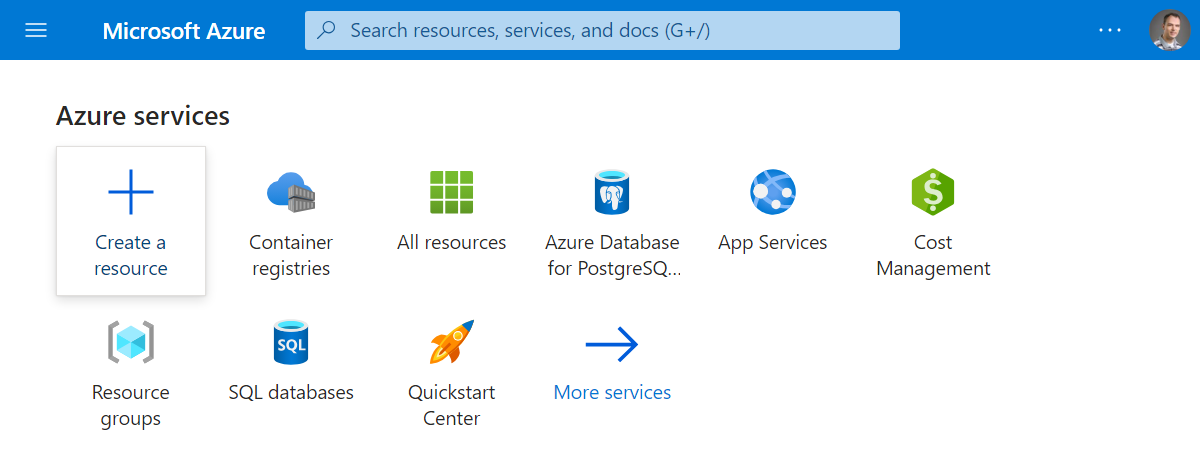
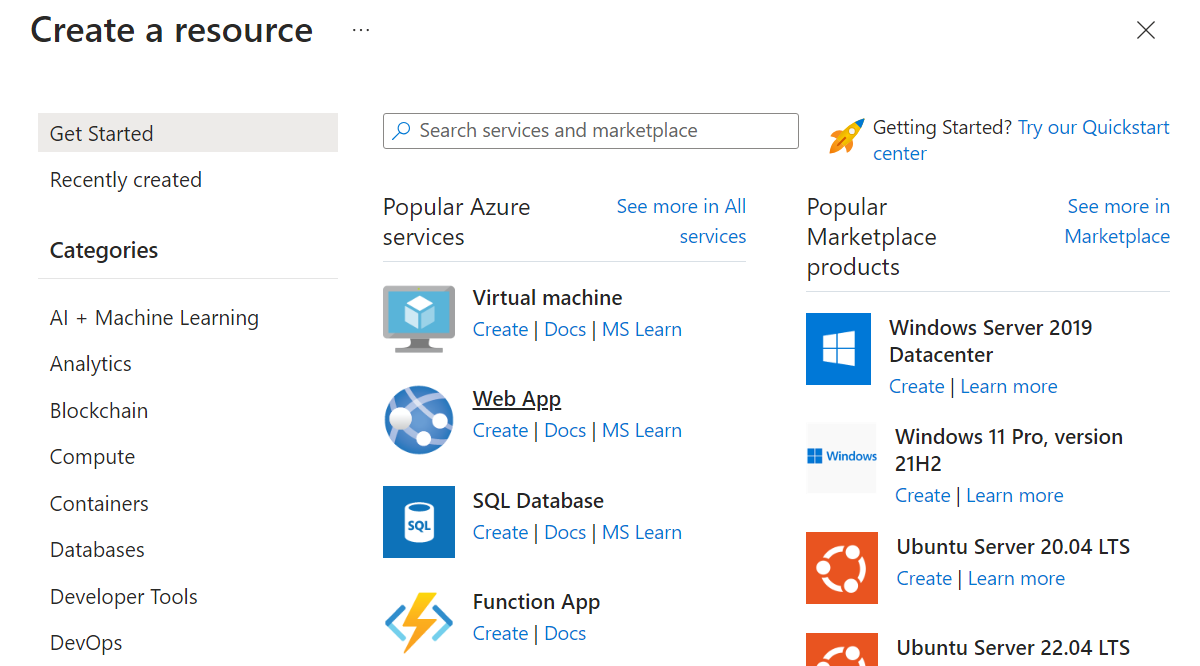
Log into https://portal.azure.com and select “Create a Resource”.
-
Select “Web App” from the list of options.
-
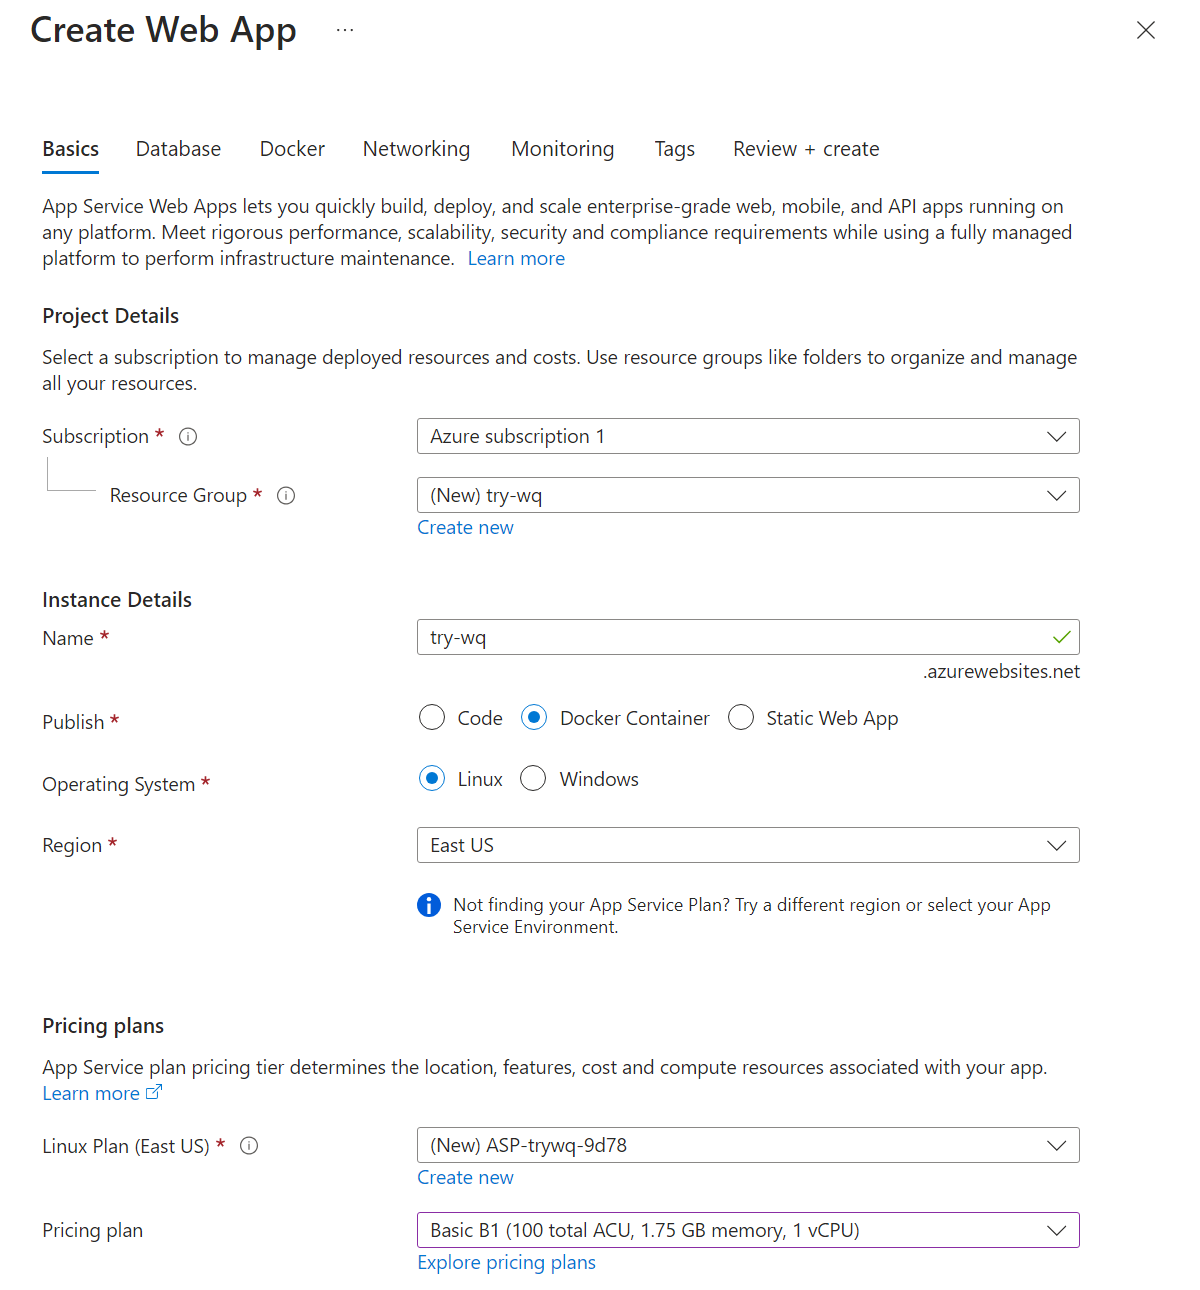
Complete the basic information form for the app. You will likely want to create a new Resource Group to make it easier to manage and/or delete everything associated with this tutorial in the future. Select “Docker Container” for the “Publish” type.
-
On the next screen, enable the database and select “PostgreSQL - Flexible Server”. The default names should be fine unless you want to change them.
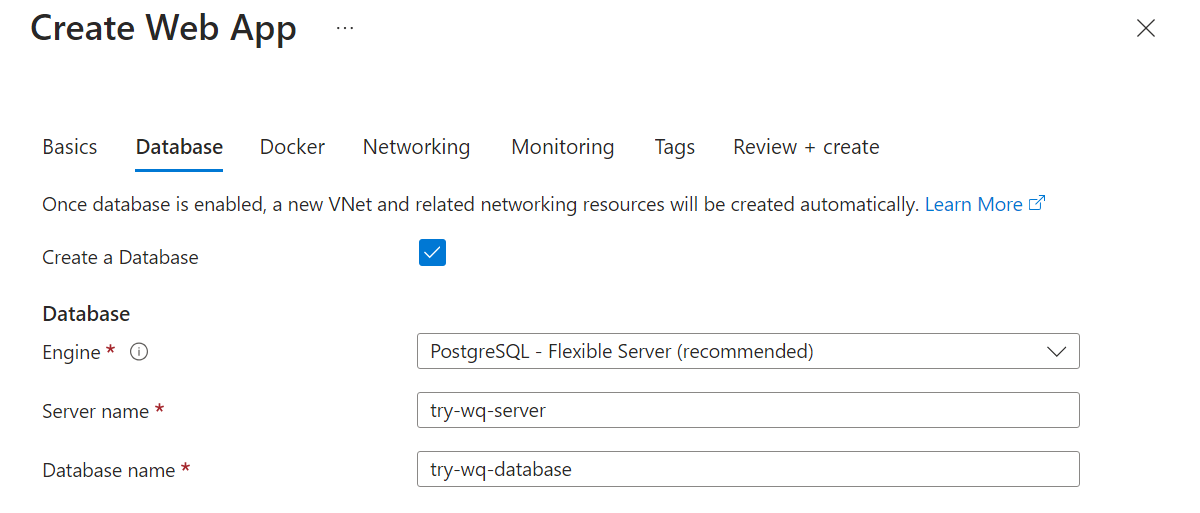
Note that the auto-created database will start with 128 GB of storage, costing around $15/mo (not including compute costs). If this is too large, leave the box unchecked and create a PostgreSQL database manually in a separate step. (Unfortunately, Azure does not allow scaling database storage down once created.) After creating the database separately, you’ll need to manually connect the Web App and Database to the same VPC.
-
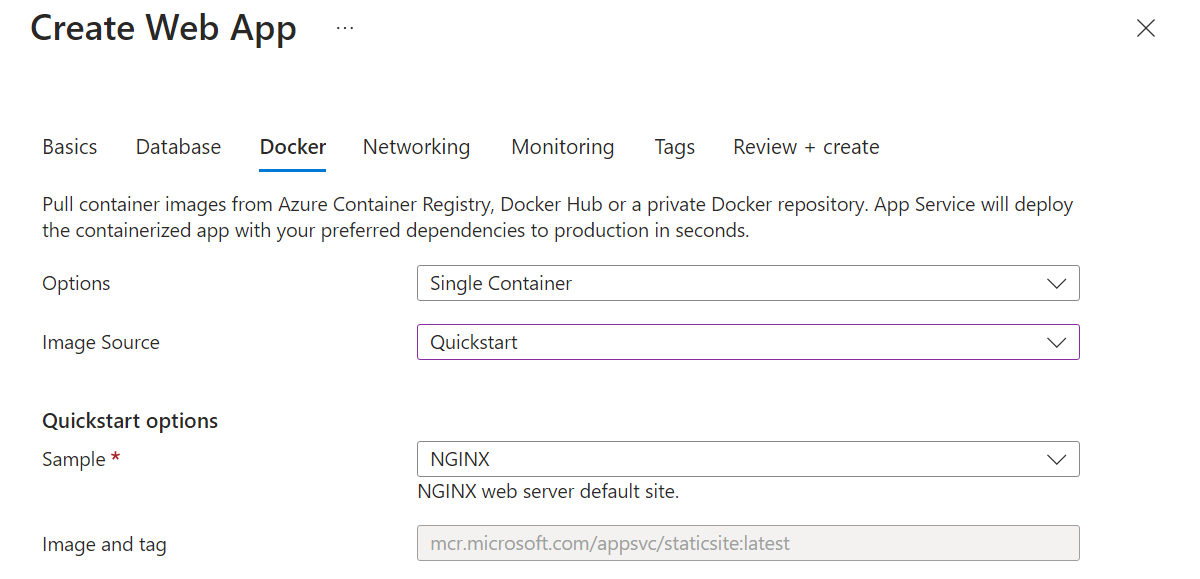
On the next screen, select “Single Container” and “Quickstart”. (We will connect the actual container later.)
-
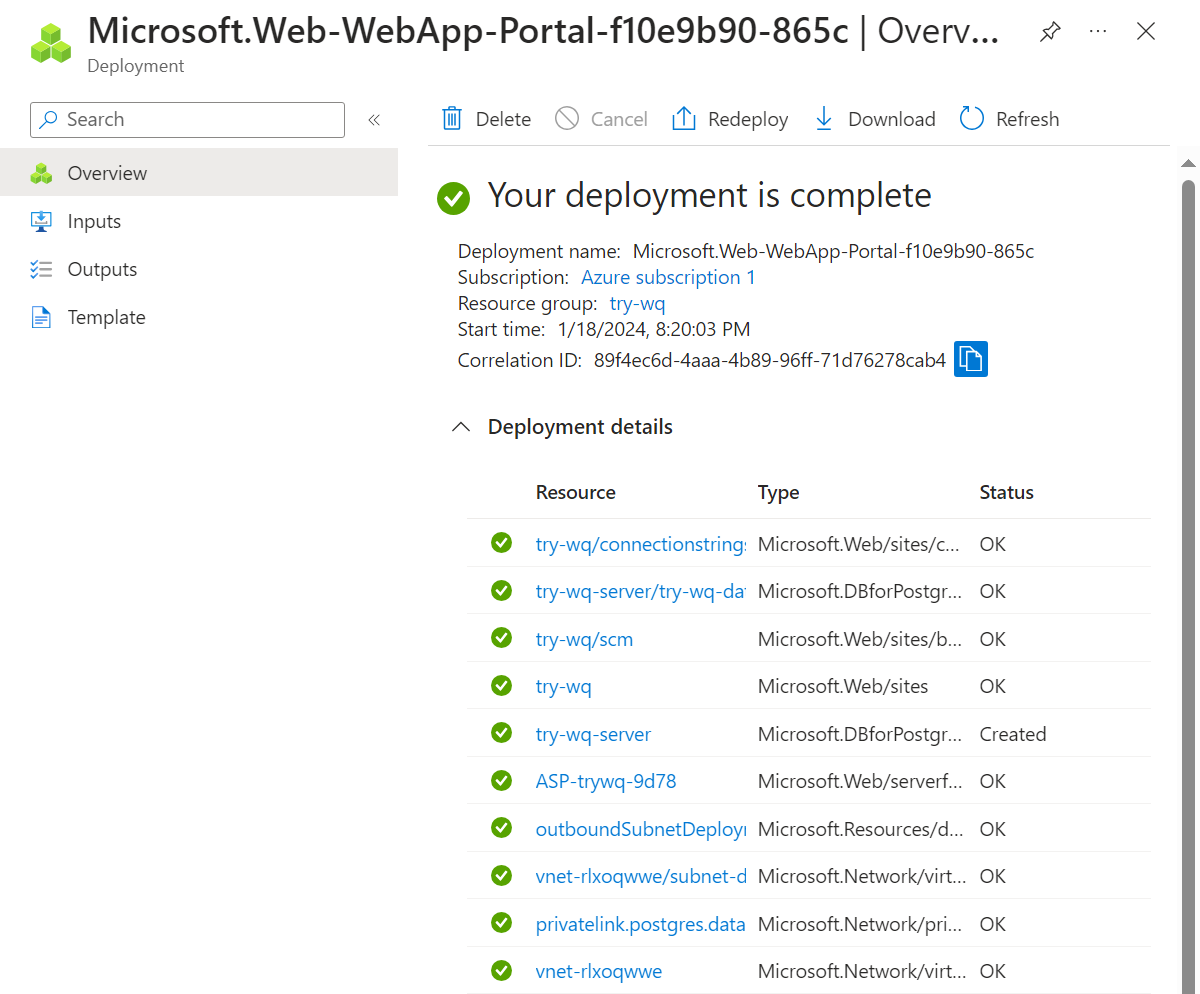
Accept the defaults for the remaining screens, then click Create.
Update Database Settings
-
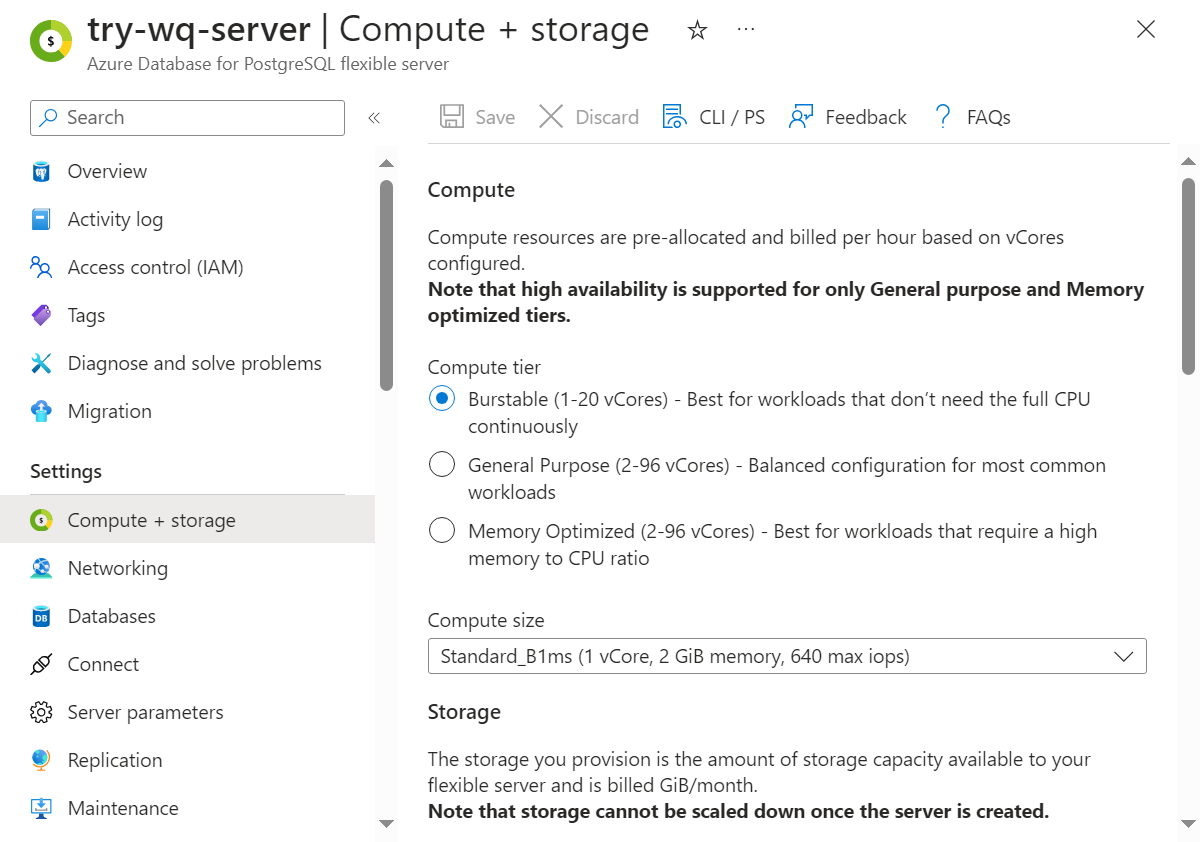
Navigate to the PostgreSQL instance (e.g. try-wq-server) and select “Compute + storage”. Unless you anticipate a lot of traffic right away, switch to a “Burstable” “Standard_B1ms” instance.
-
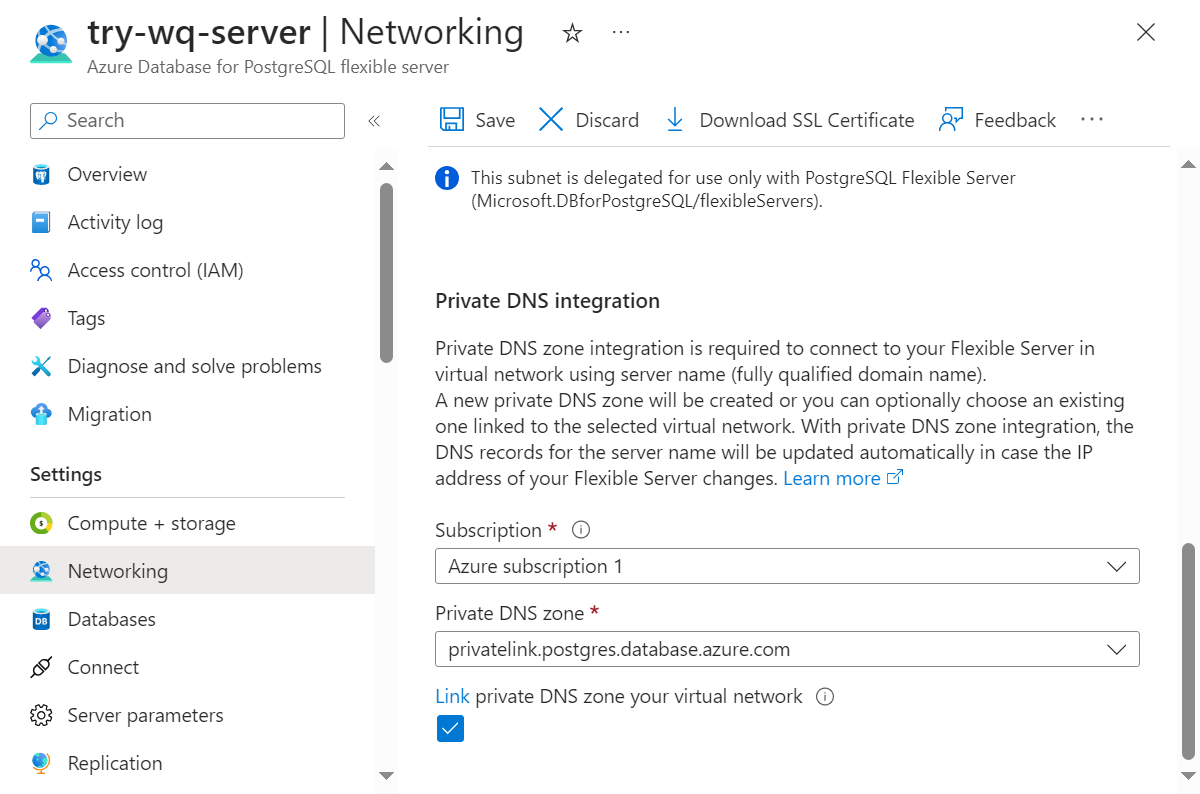
Navigate to the “Networking” section, ensure that the private DNS zone is enabled, and click “Save”.
-
Navigate to the “Server Parameters” section and search for “extensions”. Open the dropdown to ensure that
POSTGISis selected as an available extension, then click “Save”.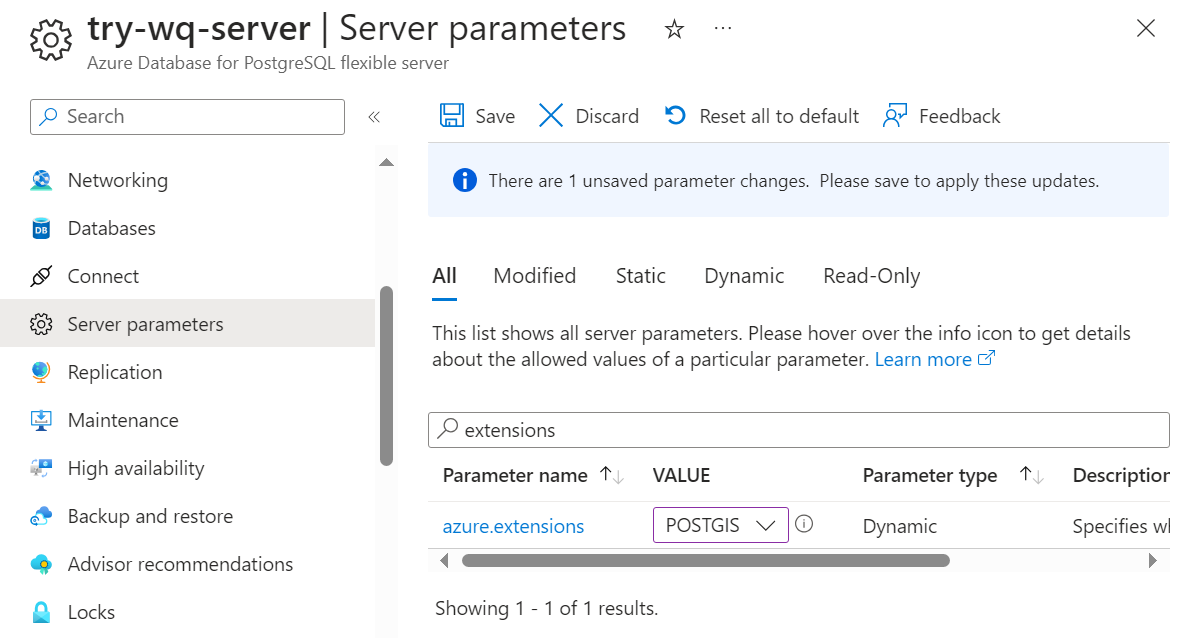
Create Container Registry
If you already have a container registry in Azure, you can skip to Step 13.
-
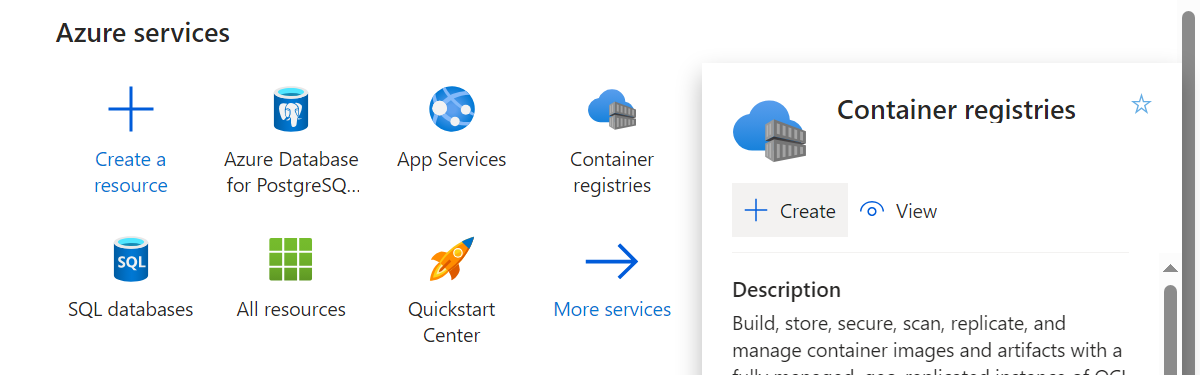
From the portal home screen, select “Container registries” -> “Create”.
-
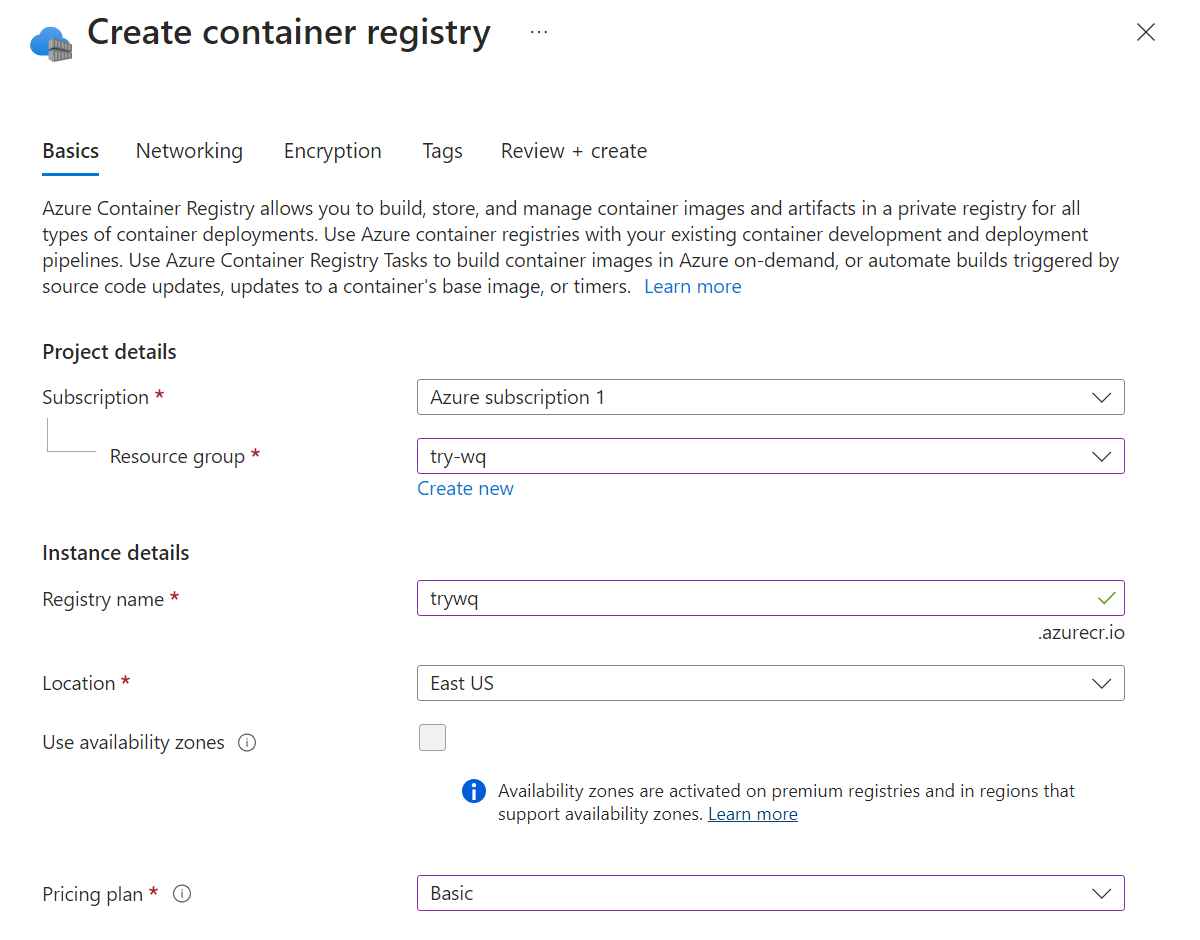
Select the resource group you created in Step 3 and give the registry a name. It could be similar to the app name, unless you are planning to reuse the same registry for other apps.
-
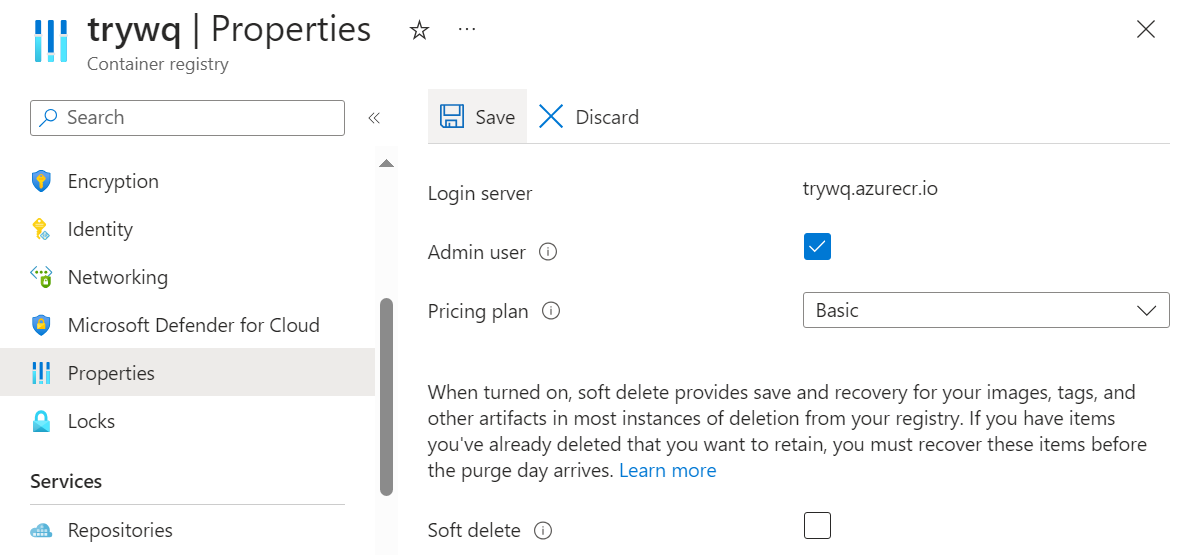
Once the registry is created, go to its properties, enable the “Admin user”, and click “Save”.
Connect Github Repository
If you haven’t already created a repository on GitHub, complete Steps 1-3 of the GitHub Codespaces guide before continuing to Step 13 below.
- From the portal home screen, navigate to the “Web App” you created in Steps 1-6 of this guide and locate the “Deployment Center” section. Change the “Source” to “GitHub Actions” and authenticate to link your GitHub account. Select the organization, repository, and branch containing your application.
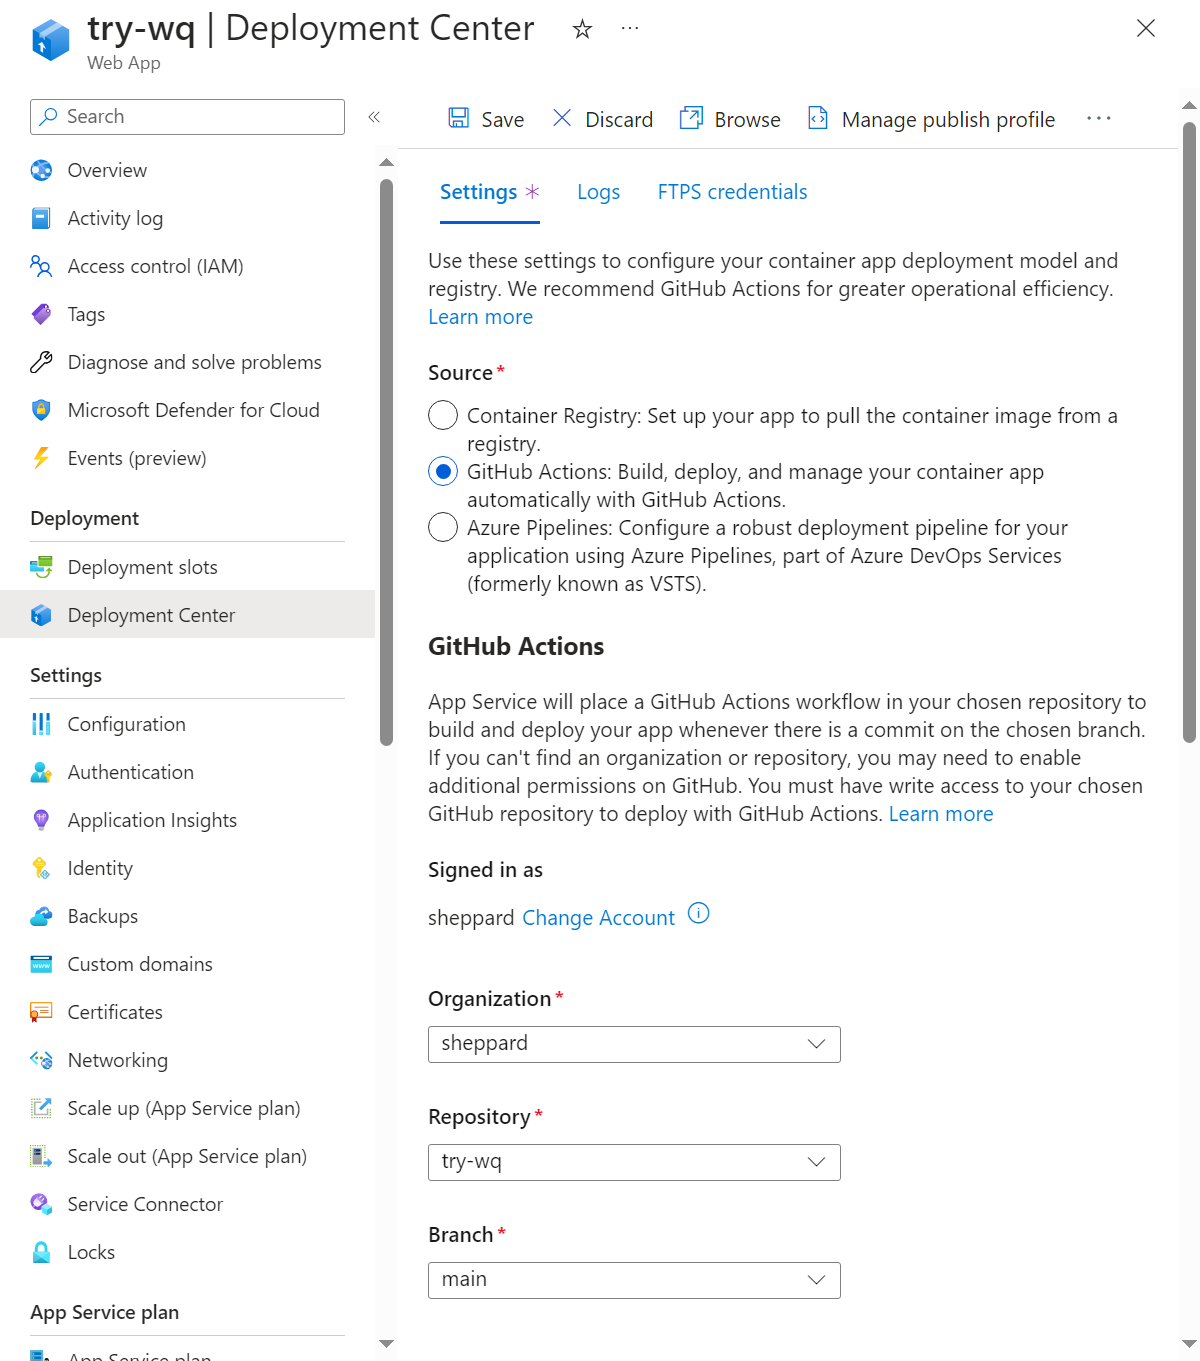
If you get a warning about basic auth not being enabled, go to “Configuration” -> “General Settings”, ensure “Basic Auth Publishing Credentials” is on, and click Save, then return to the Deployment Center and complete Step 13 again.
-
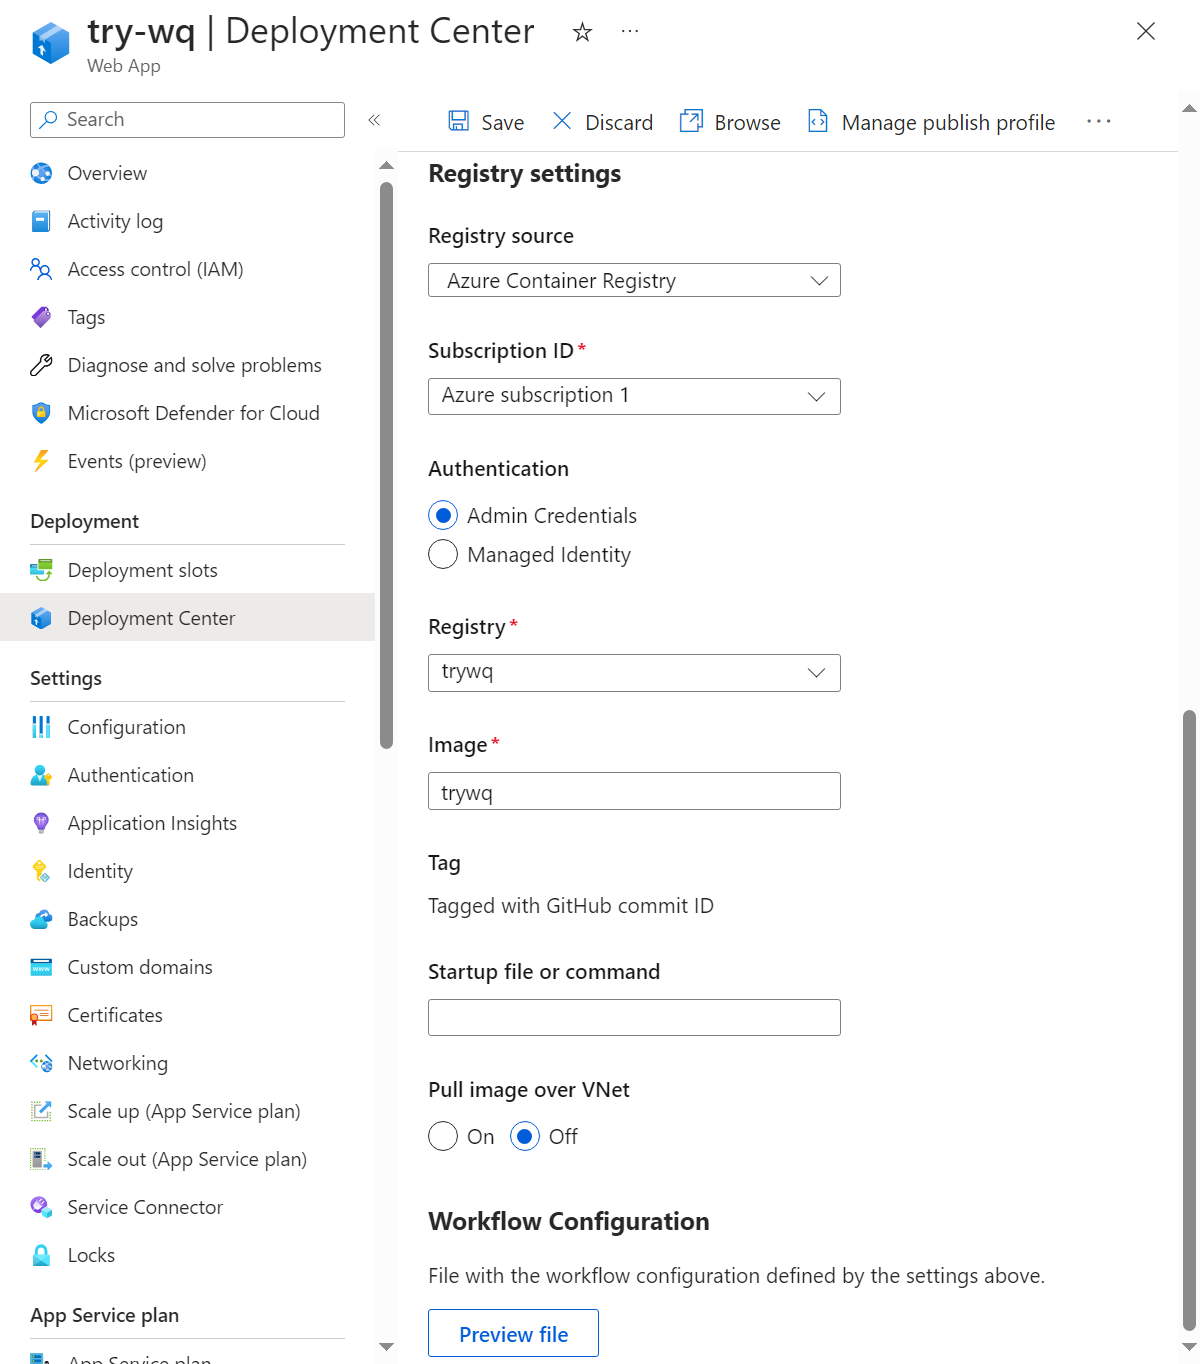
Complete the remaining Deployment Center settings and click Save. For “Registry” pick the registry name you entered in Step 11. The “Image” name can be anything, but should correspond to the app (especially if you will be re-using the registry for other apps.)
-
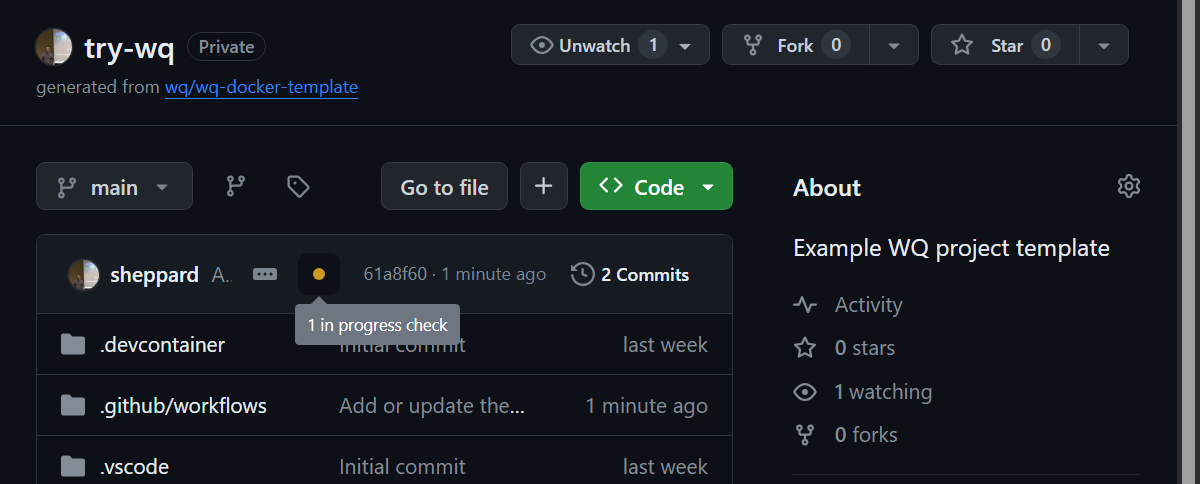
Go to the repository on GitHub and confirm that there is a new commit from Azure. Click on the yellow indicator or navigate to the “Actions” tab.
-
Watch to see that both the “build” and “deploy” jobs complete successfully.
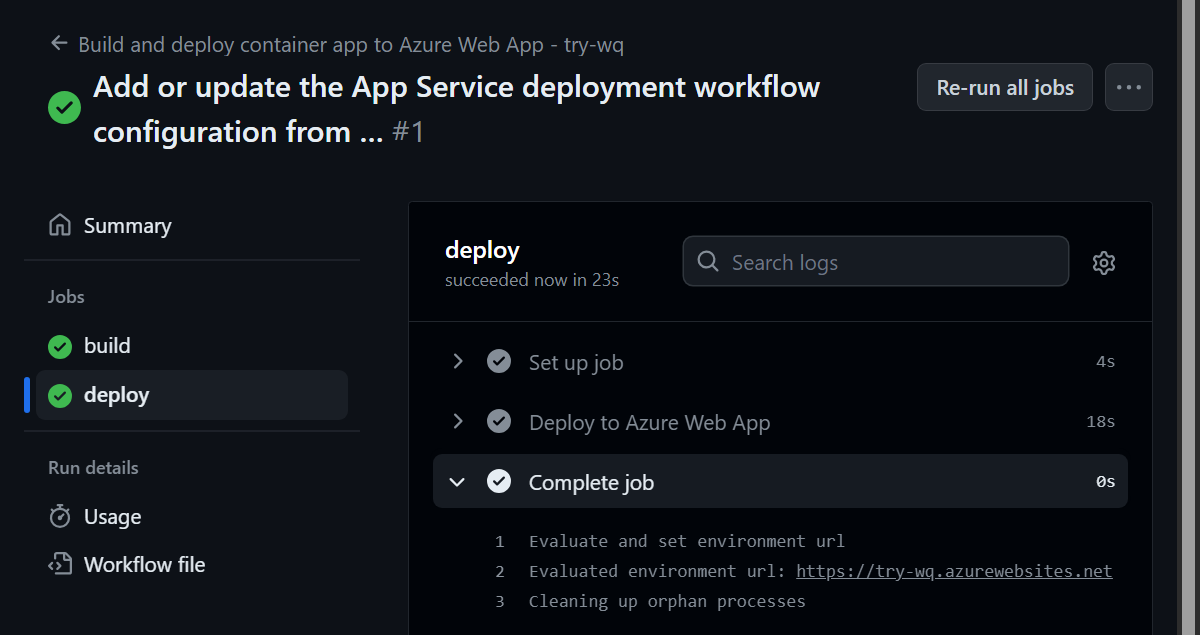
You might be able to open the *.azurewebsites.net URL, but it will probably error out until the remaining settings are configured below.
Configure App
- Navigate to the “Configuration” section and add three new Application Settings:
DJANGO_SETTINGS_MODULE,DATABASE_URL, andSECRET_KEY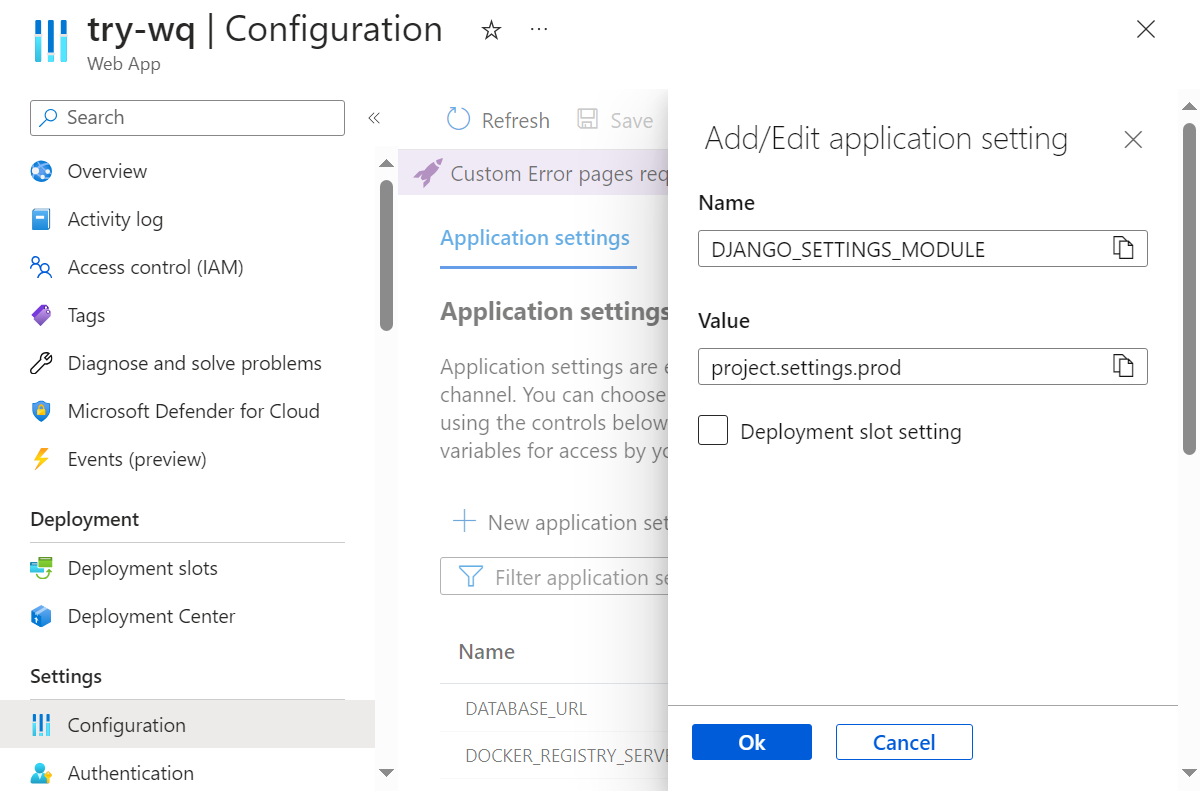
| Setting | Value |
|---|---|
DJANGO_SETTINGS_MODULE |
"project.settings.prod" |
SECRET_KEY |
Can be generated via python -c "import secrets; print(secrets.token_urlsafe())" |
DATABASE_URL |
Adapt from AZURE_POSTGRESQL_CONNECTIONSTRING |
For example, given the following value for
AZURE_POSTGRESQL_CONNECTIONSTRING:Database=try-wq-database;Server=try-wq-server.postgres.database.azure.com;User Id=someuser;Password=$SOMEPASSWORDThe
DATABASE_URLwould be:postgis://someuser:%24SOMEPASSWORD@try-wq-server.postgres.database.azure.com/try-wq-databaseNote that special characters in the password need to be URL-escaped. One way to do this is with the following command:
python -c 'import urllib.parse;print(urllib.parse.quote("$SOME_PASSWORD"))'
-
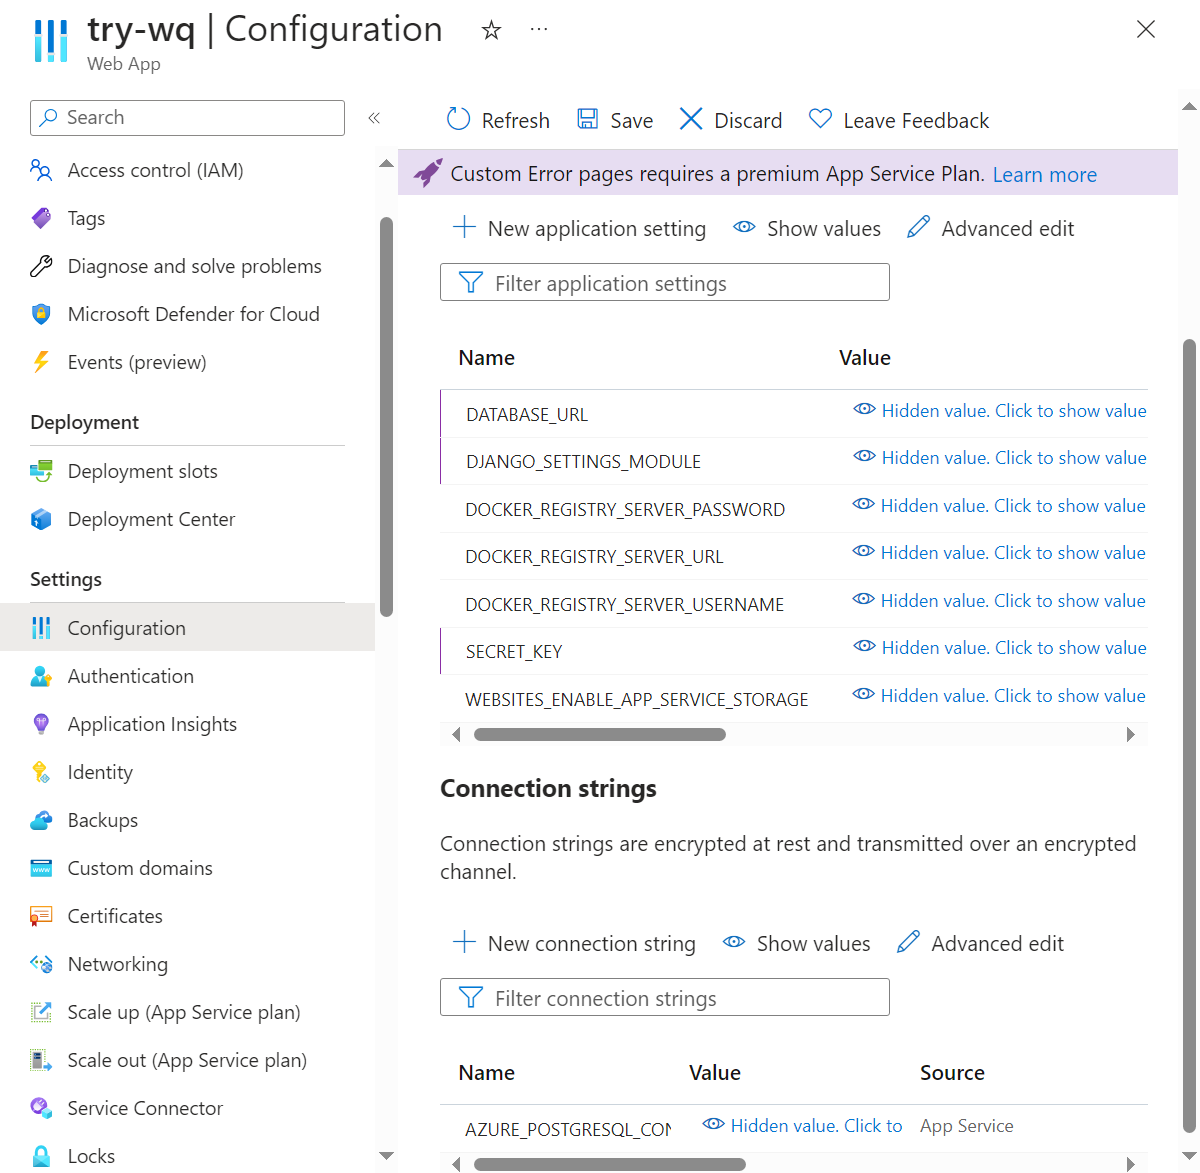
Confirm that all three settings are defined and click “Save”.
-
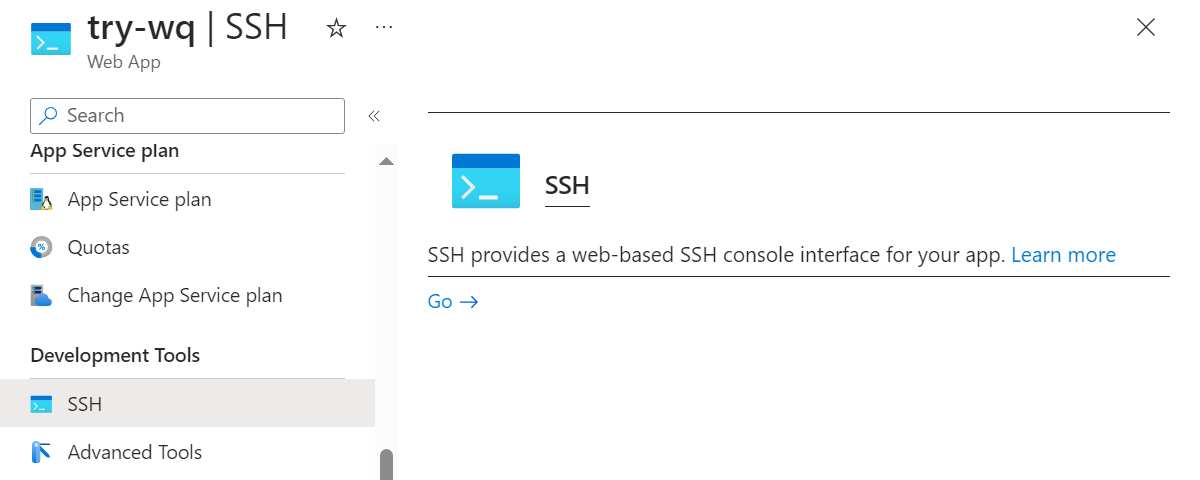
After waiting a few minutes for the configuration to take effect, navigate to the “SSH” section and click “Go”
- Run the
migrateandcreatesuperusercommands in the SSH console: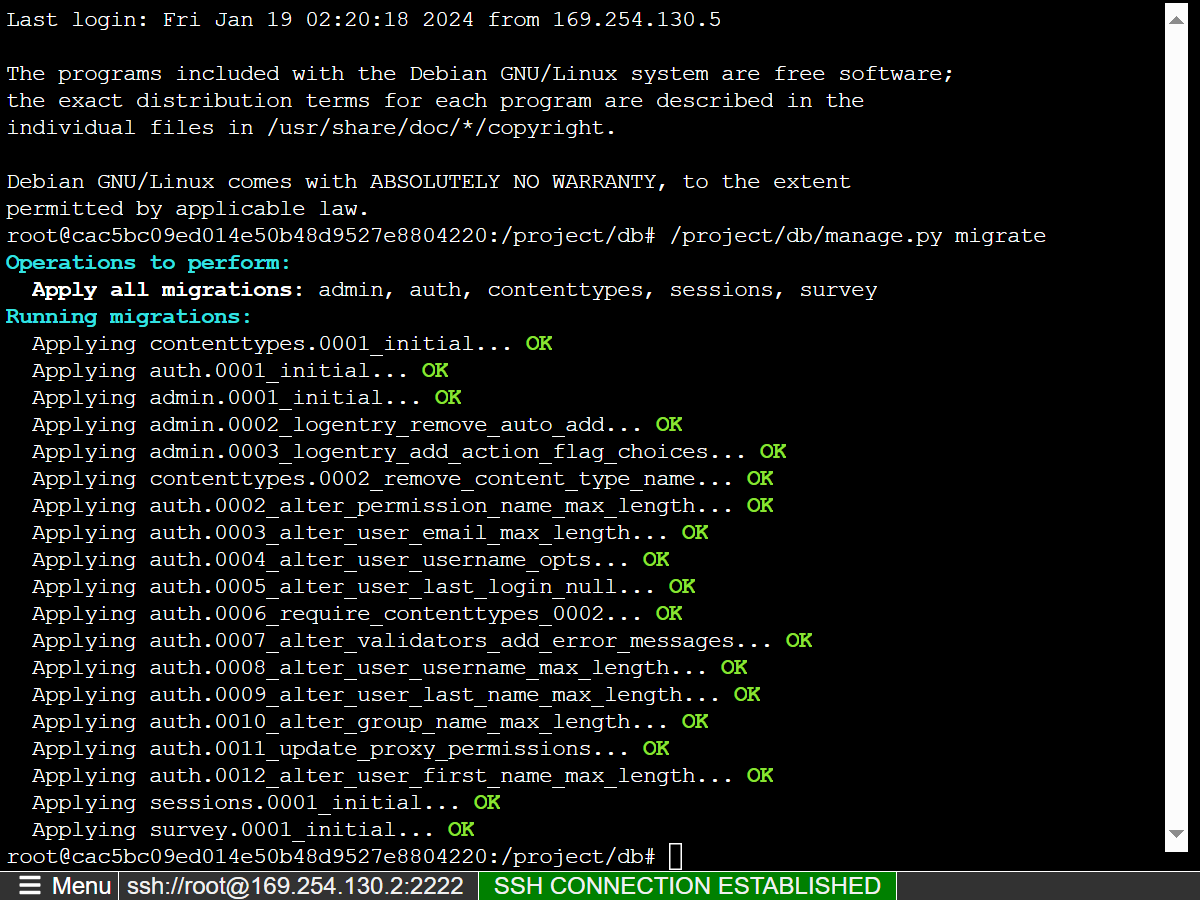
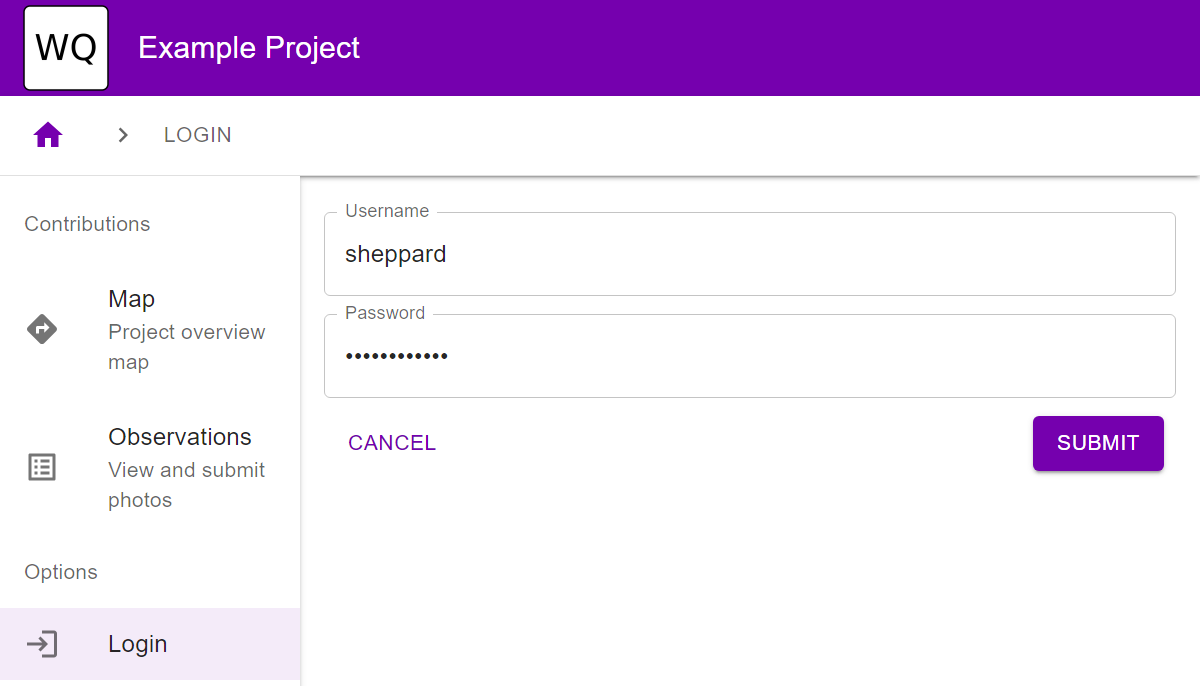
/project/db/manage.py migrate /project/db/manage.py createsuperuser - Open the *.azurewebsites.net URL and confirm that you are able to log in.
Next Steps
You now have a working wq production environment running in the cloud! At this point you can take any of the following steps:
- Update the config settings to override the site title and theme
- Further customize your app’s UI and behavior by registering plugins
- Describe the rest of your data model